User moderation
When a new user is created, he receives the status ![]() New . If the user was created through an invitation, then when he confirms the mail and creates a password, his status will take on the state
New . If the user was created through an invitation, then when he confirms the mail and creates a password, his status will take on the state ![]() Confirmed .
Confirmed .
The moderation function is used by the administrator to confirm the creation of a new user. In order to use the function, you need to press the button![]() User moderation in the toolbar or click on the user status.
User moderation in the toolbar or click on the user status.
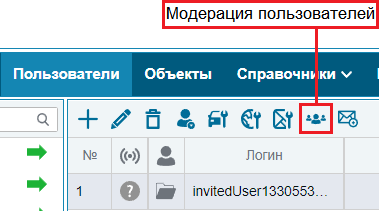
When pressing the button ![]() User moderation window will display all available users in order from A to Z, who were registered by invitation and have statuses
User moderation window will display all available users in order from A to Z, who were registered by invitation and have statuses ![]() Confirmed or
Confirmed or ![]() Refine .
Refine .
In the window that opens, you can add information about the user, check for changes in his status, and also click one of the buttons Accept , Reject and Refine .

Reject - the user's status will change to ![]() Blocked . A user transferred to this status cannot log in, and this status is immutable, so after transferring to it, you can only delete this user.
Blocked . A user transferred to this status cannot log in, and this status is immutable, so after transferring to it, you can only delete this user.
Refine - this button is activated when you uncheck one of the lines at the top of the window. Thus, you indicate that it is necessary to clarify information on filling these lines. By clicking the Refine button, the user will be transferred to the status ![]() Refine . A user in this status can be re-moderated and their status can be changed.
Refine . A user in this status can be re-moderated and their status can be changed.
Accept - pressing this button will take you to the page for changing user rights:
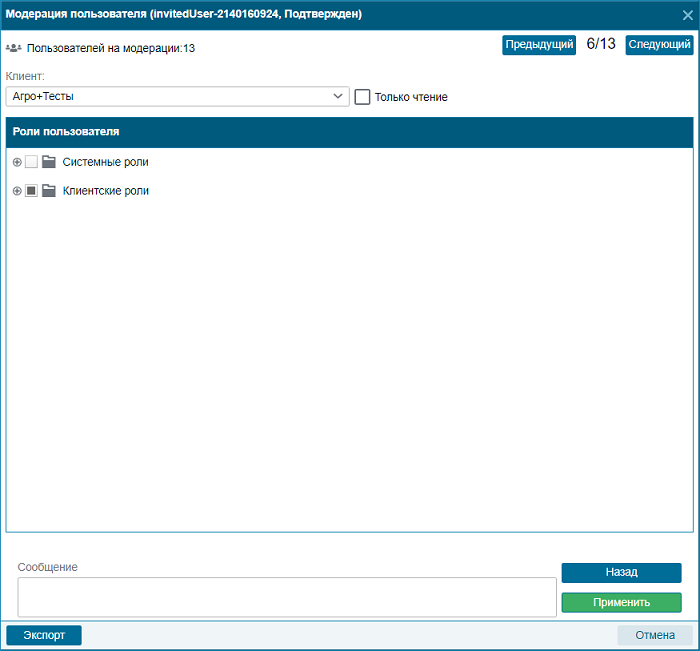
On this page, you can change the client to which the user should belong, set the Read Only status , and select user roles from the list of system or available client roles. After that, to save all the settings, press the button Apply , which will also change the user status to ![]() Active . This status is no longer moderated.
Active . This status is no longer moderated.