Creating and configuring users
In this article, you will learn how to add new users and edit them, grant users rights, get help information, enable two-factor authentication, and view the history of changes made.
In order to create a new user, go to the Control Panel and go to the "Users" section . At the top of the working field, you will see a toolbar on which you need to select the “Add” icon  .
.

Then a window for entering data will open in front of you:
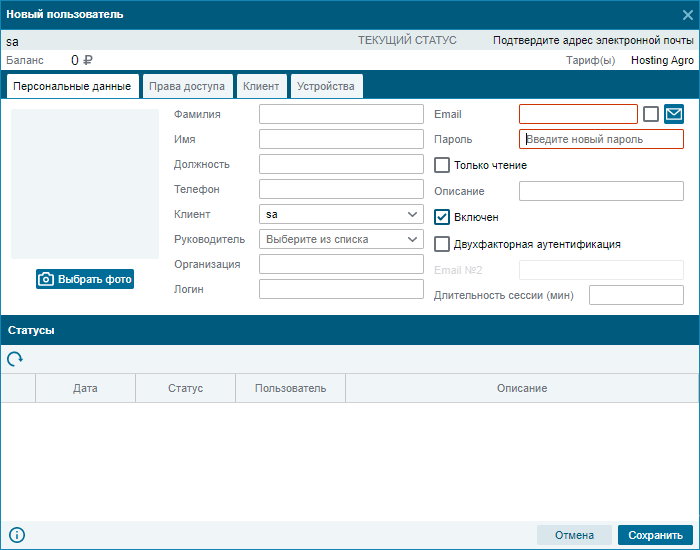
In this window, on the “Personal data” tab , the following reference fields are available to you: Last name, First name, Position, Phone, Client, Manager, Organization. You can also set a photo for the user. In this window, you can set the session time , that is, the time that the login will be active. At the end of this time, the system automatically ends the session and asks you to re-authorize.
After filling in the personal data, go to the right side of the window to fill in the authorization data: login, e-mail and password.
Here you can also activate functions such as:
Read only - this function limits the user's actions to viewing only, he will not be able to perform actions in the system. The option restricts the user's actions, regardless of the rights given to him.
Enabled - allows you to restrict the ability to log into the system, that is, if necessary, you can quickly block the ability to access the system to a particular user.
If a user is blocked, the following information will be displayed in the login window:

Two-factor authentication
If just entering a login and password is not enough, a code will be sent to the specified mail (E-mail No. 2), which will need to be entered when entering the system:

When logging in from the mobile version of the application, the user will receive this message:

To allow mobile sign-in, the user should contact their administrator. The administrator needs to allow access on the "Devices" tab in the user's card.
Filled window example:
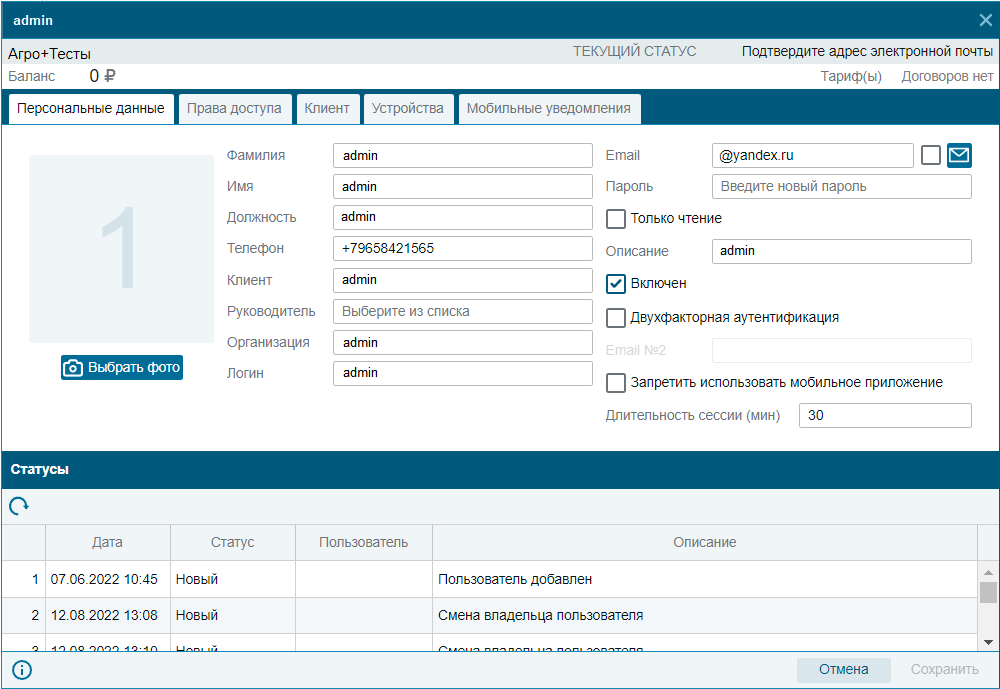
At the bottom of this window, the “Statuses” panel is displayed . Here we see the user change history.
When all the fields are filled in the “Personal data” tab, you can go to the next tab - “Access rights” .
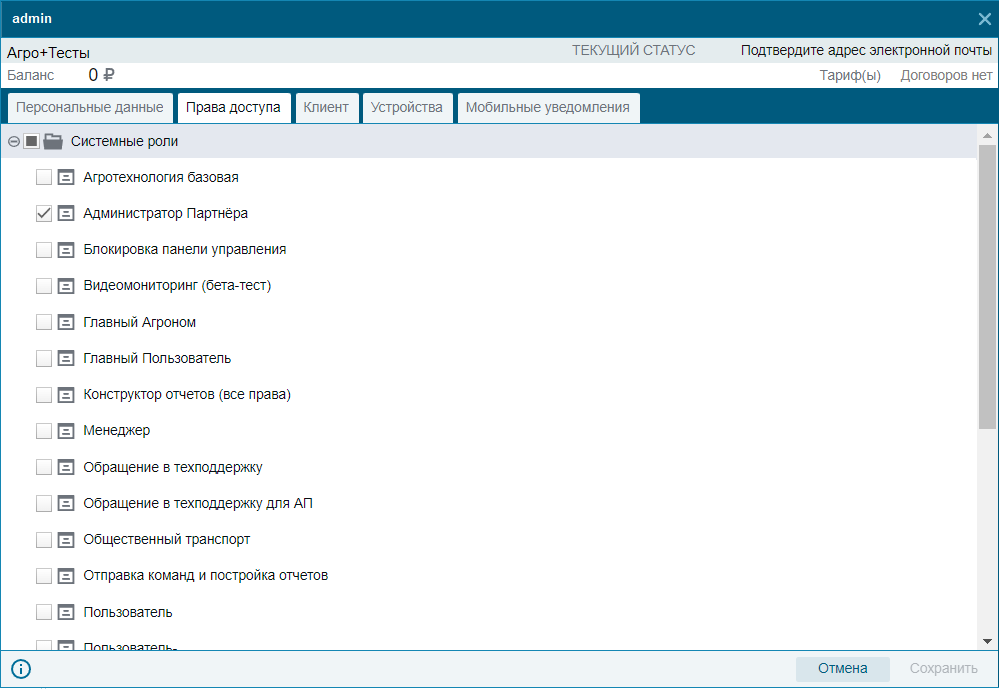
In this window, you can select the roles that you want to give the user. To do this, you need to tick off the items you need on the left. A role is a set of rights. When you hover over a role, you can see what rights it includes.
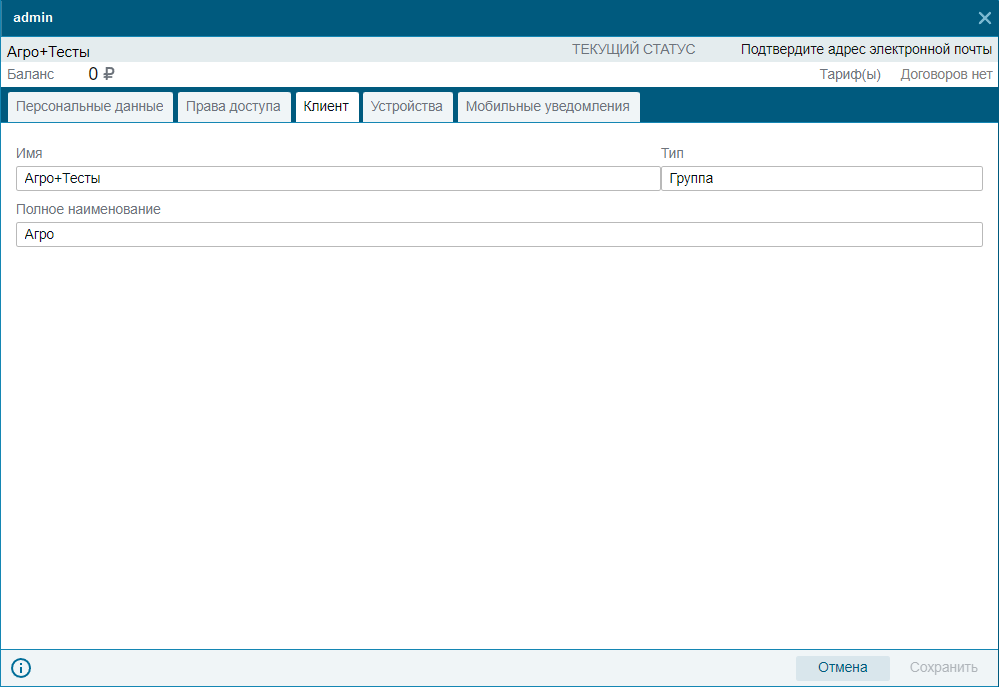
The next tab is called "Client" . Here you enter the current information about the selected client.
The next tab is “Devices” . In this tab, you can view the devices from which this user logged in. If two-factor authentication is enabled, you can choose to allow or allow mobile sign-in.
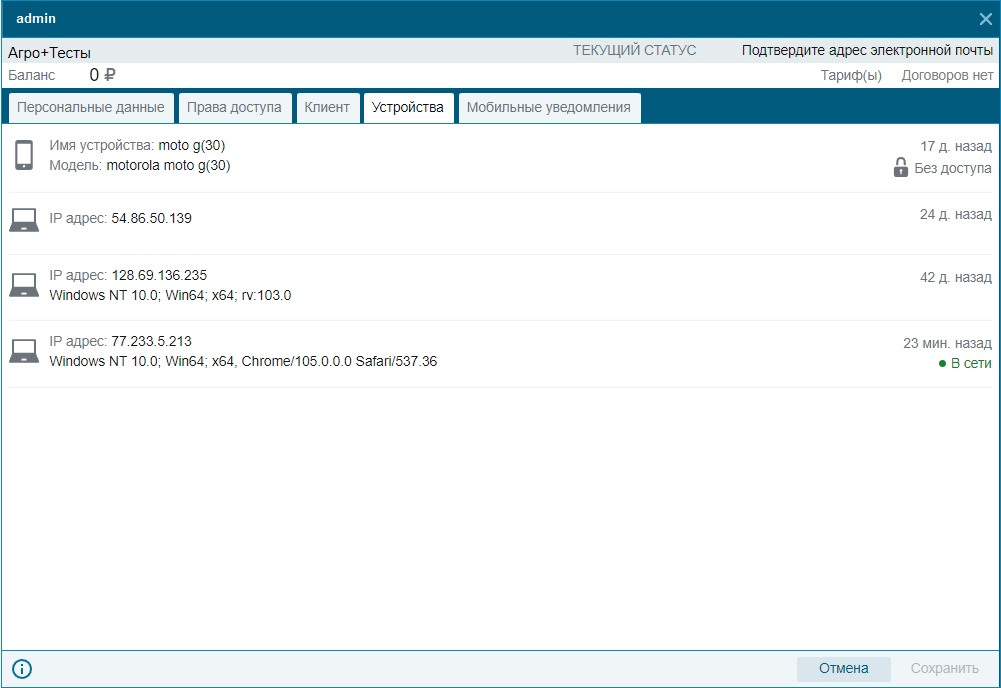
Also here we see active sessions from different devices.
If the user has two-factor authentication enabled, then in this section it is necessary to confirm each new mobile device.

If necessary, you can revoke access and block access from a specific device.

On the “Messages” tab in the user card, messages from other users and system messages will be displayed.

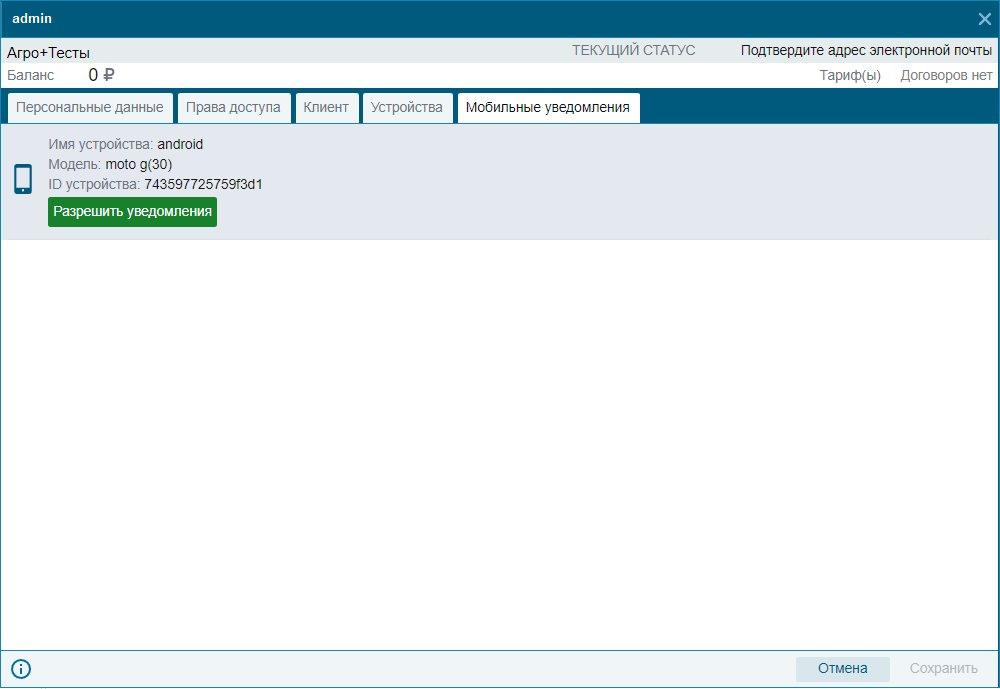
In the mobile notifications tab, you can allow or deny the user's mobile device to receive notifications. Mobile devices appear in the list after the user logs in for the first time in the GlonassSoft mobile application.
After all the fields are filled in, click “Save” and your user will be added with all the settings you have chosen.
If you want to edit an already created user or change access rights and roles, then select the “Edit” icon  on the top toolbar. You will see exactly the same working fields as during creation. At the end of editing, click "Save" and all your changes will be saved.