Notification settings
Notification settings
Setting up the Notifications module consists of 8 simple steps that will help the user realize the potential of this module.
Step 1 - Select an event template. There are 10 preset templates for notifications, each of which allows you to choose all the settings you need.
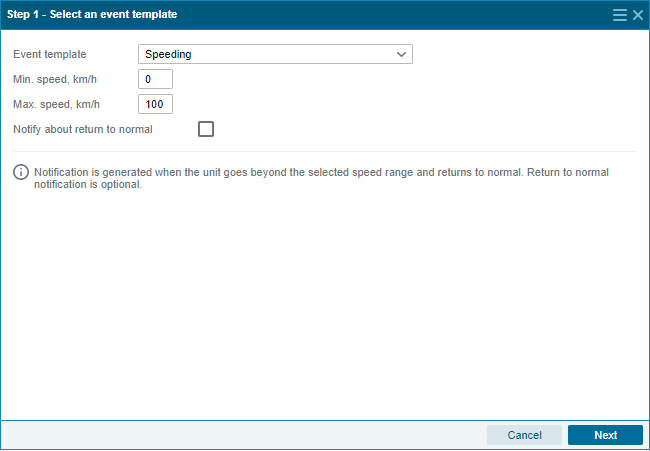
Once you select a specific template, further setup steps will be displayed according to the selected template. For example, selecting the Speeding template from the settings cycle excludes steps with field selection and geo objects.
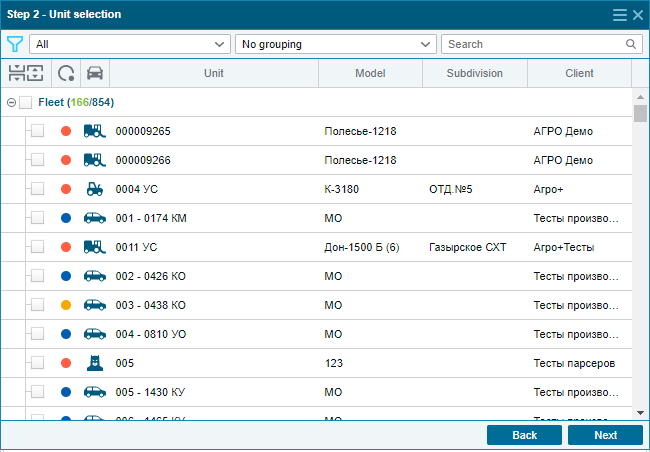
Step 2 - Selecting an object. Here you can select the objects from which you want to receive notifications, as well as settings for grouping objects.
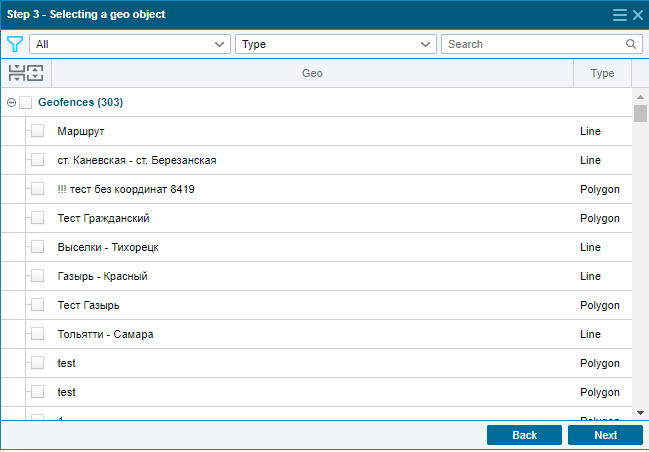
Step 3 - Selecting a geo object. As well as with objects, you can configure which geo objects you want to receive notifications from and select grouping options.
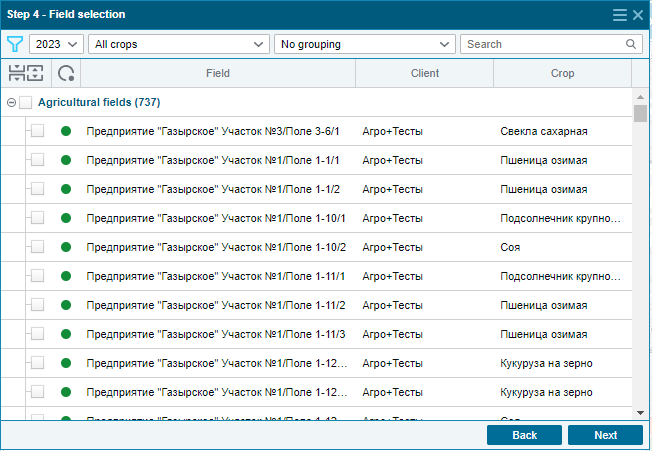
Step 4 - Field selection (if the AgroTechnology module is activated). Allows you to select fields for notifications and configure grouping for them.
Step 5 - Selecting an information channel. This step allows you to choose how you want to receive notifications from the system (you can select several channels at once):
in Telegram
in mobile app
in web version
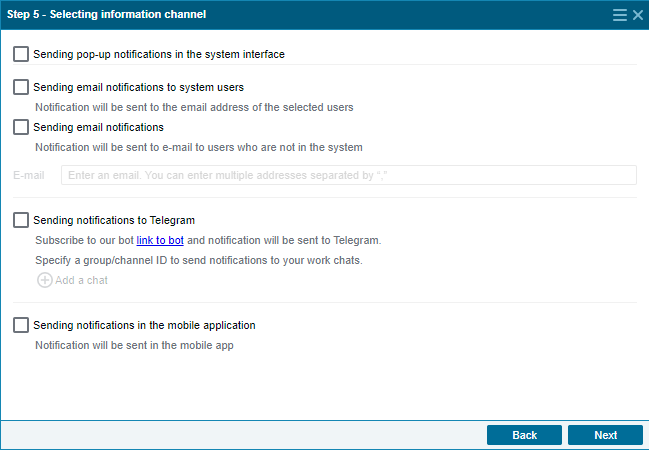
Default telegram bot address (DC1): https://t.me/glonasssoft_notif_bot
Telegram bot address (DC2): https://t.me/glonasssoft_notif_reg_bot
You need to add a bot to your chat in order to receive notifications there.
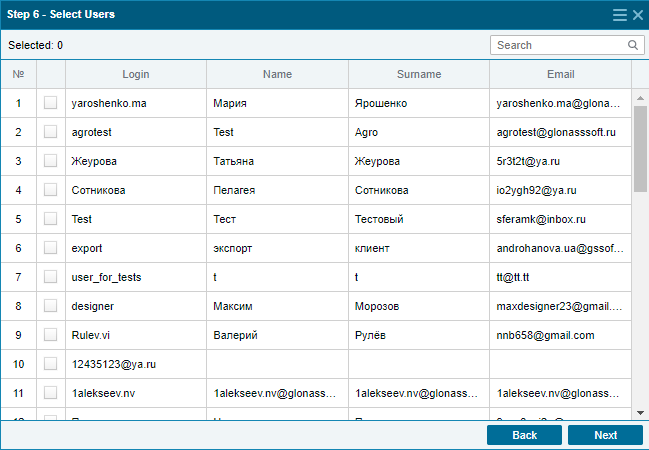
Step 6 - User Selection
Step 7 - Type of notification.
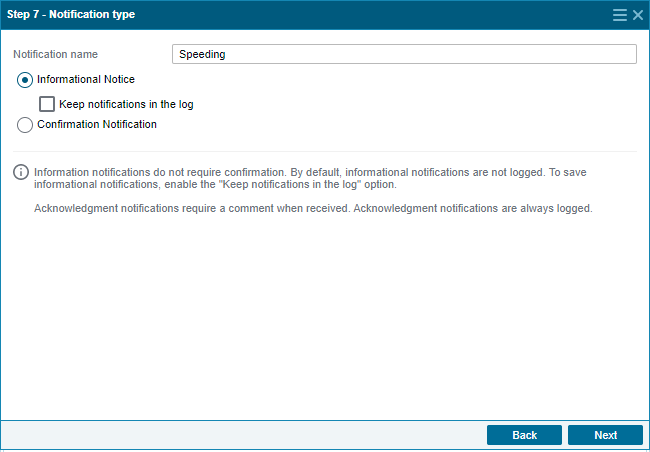
- information notifications (inform you about the event and can be closed with a single click, while being saved in the event log)
- notifications with confirmation (cannot be closed without making a comment, also saved in the event log)
Step 8 - Notification expiration date. The duration of the notification (the maximum number of days is 90, with the possibility of extension for a specified period). You can also set the activation time (send immediately or according to the scheduled time).

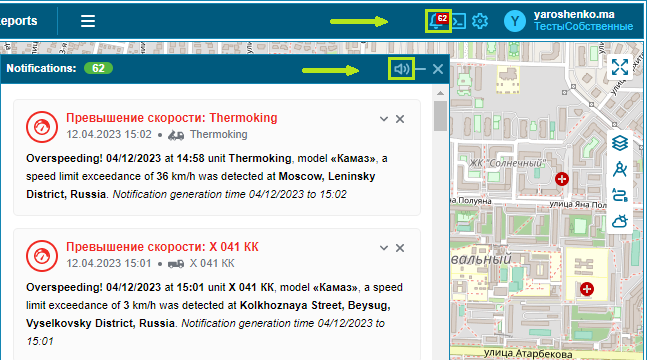
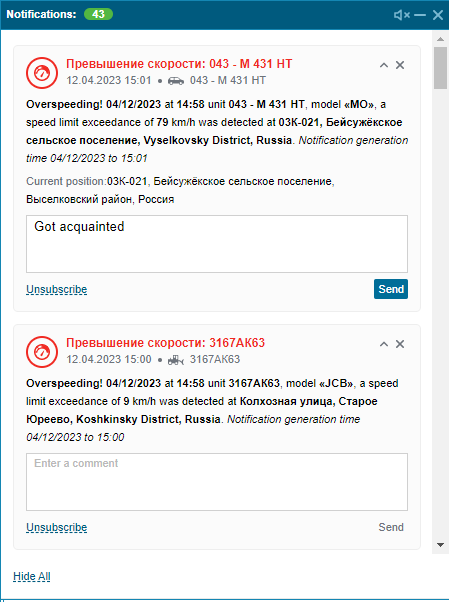
Displaying created notifications in the Notifications module.
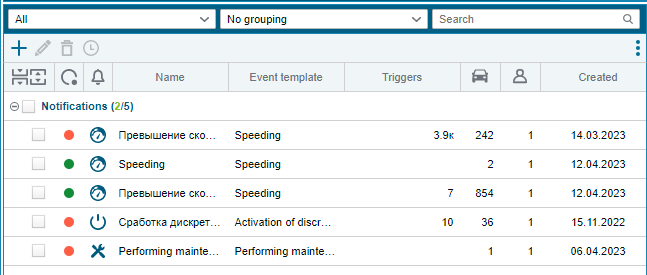
From this field you can:
- edit notifications 
- create new 
- stop and start 
- delete 
- build a report 
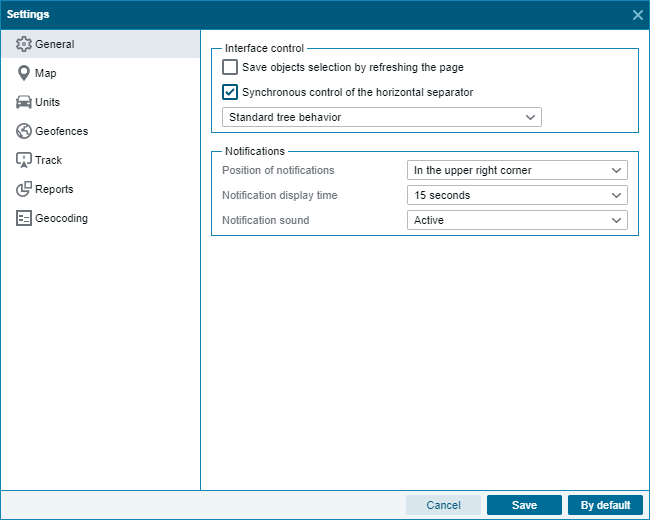
Setting the notification sound
To configure the soundtrack, go to the user settings in the "General" section. In the Notifications column, you can configure the location of notifications, the time they are displayed, and the sound. About 50% volume will be enough to clearly hear the notification signal.
You can also adjust the sound from the monitoring system by clicking on the notification icon in the upper right part of the screen.